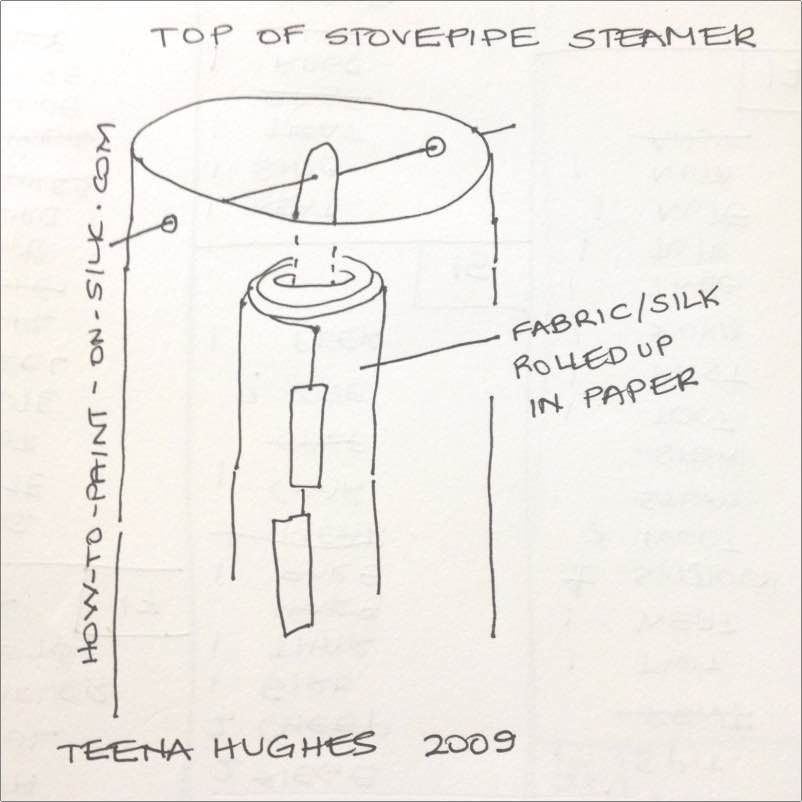
How to make a silk steamer at home
The Tale of The Rocketship Steaming Disaster
by Teena Hughes, silk artist http://how-to-paint-on-silk.com
Back in 1999, close to Christmas, my student Laurie and I had become great friends and decided to paint up a storm (that’s “a lot” of silk for non-Aussies) and try out my new 6′ [2m] high silver silk steamer. It consisted of two parts:
- base unit with electric element to plug into the power, and where the water would be
- the tube, or tower, part [approx 14 inches across] – which has some kind of padding/insulation wrapped around it and attached to it, so I can lift it up when it’s hot.
We had been painting for weeks on end, painting silk for Chrissy prezzies of all kinds and finally we were ready.
Out came the gigantic industrial roll of paper purchased at the paper factory, it took 2 of us to struggle to lift it up onto my worktable … whew! We very carefully lay all the silk scarves and metres of fabric on the white paper, keeping the silk away from the edges, roll up, pull the paper, roll up, pull the paper …
When the silk was all rolled (and it was a chubby little roll, let me tell you!), it was time to suspend in the new “rocketship”. I’d only ever used stovetop horizontal steamers so this was a new experience, and it was at this point I realised that there weren’t enough gadgets to actually dangle the wrapped silk anywhere. I’d been sold the steamer for a huge amount of money (over $A400 4 years ago), brand new, and received a unit which sat on the floor to boil water in, plus the cylindrical shape made of aluminium and covered with silver padded outershell. The instructions came on a piece of paper saying, “Suspend silk from rod, cover with towels or teatowel”. Now if any of you actually have one of these steamers, you’ll know that those instructions were a little bit short of real.
 I had a silk book from the USA which had photos of how to suspend the silk, so we pored over that for a while, dug holes into the top of the cardboard cylinder we had used for the length of silk, made a hook out of a coathanger and hung the whole lot on another piece of coathanger across the top of the steamer. We assembled it all, put towels and phonebook on top, set it for 3 hrs, and we took ourselves out to the balcony for a glass of wine.Image © Dharma Trading
As the sun was setting, I thought I hadn’t smelled that familiar “paper in high pressure steam” smell I’ve come to love over the years, so I checked the steamer ….
DISASTER HAD STRUCK! I SCREAMED!
Laurie came running over as I lifted the cylinder up to reveal that our beautiful roll of paper had bent the coathanger bit in half (you could all see this coming … right?), and you guessed it, the whole roll was resting IN THE WATER …
We were shocked, we were stunned, we ran around like chickens with their heads cut off, we didn’t know what to do, I felt so so guilty as Laurie had spent weeks on her silk and it was for all her family in the USA. I was griefstricken that I’d ruined her Christmas.
Assessing the damage …
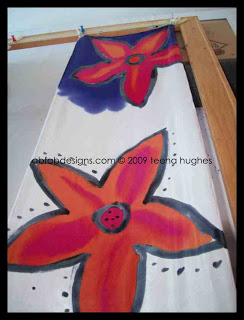
Well, when our tears dried up, we salvaged what we could, which was mostly the top half of the rolled silk, and yes, we lost a lot of good silk that day, but I could never throw it away.
The good news is it taught us both a valuable lesson in engineering, and I’ve now perfected the silk-hanging-in-the-cylinder technique and have never had another accident. The ruined silk when dry had quite an unusual look to it, and ended up being used for silk cards and small projects so all was not lost.
Moral of the story?
- Never use new equipment unless you’ve read all the instructions and researched the internet or books to get a better understanding of what you’re about to embark on!
- Never ever ever use new equipment on a big batch of new silk – always test one item first, make sure it works the way it should, and if it doesn’t, you’ve only lost one small item.
- Never throw silk away, you never know when it might metamorphose into a beautiful something-or-other …
Final Moral of the Story?
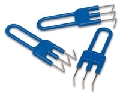
TIP 1 :: Don’t use a coat hanger in your steamer to suspend silk on! This image at right is where I went WRONG, because I had more than 4-5 scarves wrapped up, I had quite a few yards [metres] of silk which made the roll HEAVY.
TIP 2 :: I now use a piece of wood which is wider than the cylinder (I actually use a Fredrix stretcher strip) which now rests in the two V-grooves at the top of the “rocketship” and is very sturdy.
TIP 3 :: I drilled a hole in the middle of it from which I hang the other piece of wood (also a long Fredrix stretcher strip) – instead of a cardboard cylinder – securely attached with a large screw and wingnut, with the silk and paper wrapped securely around it.
TIP 4 :: At the BOTTOM of the long wooden stretcher strip I drilled a hole big enough to push a chopstick through, but not big enough for it to fall out. I put the chopstick in the wood AFTER I roll the silk, and BEFORE I place it in the steamer tube.
There is maybe an inch on either side of the chopstick where it doesn’t touch the sides of the steamer.
This means that at no point will the wrapped silk ever touch the sides of the steamer.
TIP 5 :: The most important tip of all – how to stop the silk from falling in the water! I bought a cheap cake rack [the kind you cool your cakes on when they come out of the oven], and I attached it to the top of the unit where the water resides. This meant that if the silk hanging above it fell, it would land on this rack … and never touch water.
I bet you have tons of stuff around the house to be ‘creative’ with when it comes to making your own steamer.
So go ahead – buy or make your own!
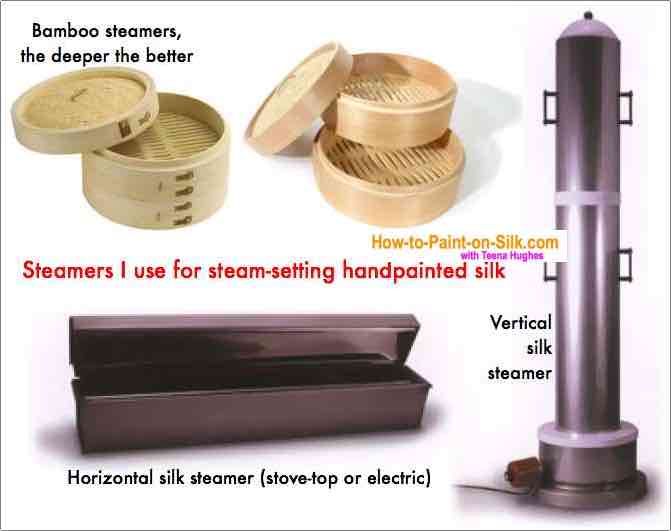
Can I make my own steamer?
Yes! Visit the Dharma Trading website to read instructions on how to make your own Stovepipe Steamer:
Click here to go to DharmaTrading.com
Dharma’s Stovetop Steamer:


Have fun!
Get in touch if you have a questions,
Teena!